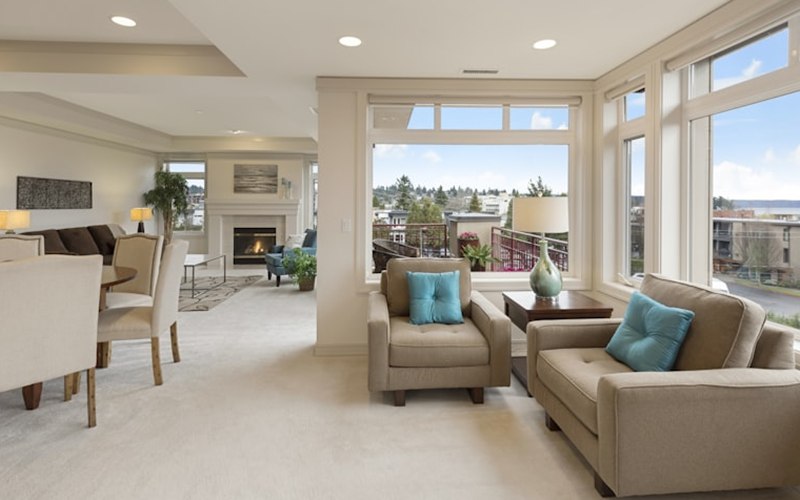
When you want a meaningful amount of new living space but would rather skip the upheaval and price tag of an addition, finishing the basement is among the most appealing routes you have. The footprint is already there, the foundation walls stand, and the roof sits overhead. All that's left is turning that bare, utilitarian shell into a comfortable, usable room. Done well, the project can yield a family room, an office, a guest suite, a gym, or a media space for far less per square foot than building fresh. That said, basements bring their own quirks, and skipping the planning invites expensive errors.
Checking for Moisture and Waterproofing
Water is the number-one enemy of any finished basement, and dealing with it has to come before a single stud goes up or any insulation or finish is installed. Even a basement that looks bone-dry can have moisture problems that surface only in certain seasons or during a heavy downpour. A proper evaluation covers:
- A visual sweep for water stains, efflorescence (those chalky white mineral deposits), flaking paint, or mold along the foundation walls and slab
- A moisture test in which you tape a two-foot square of plastic sheeting against the floor and walls for 48 to 72 hours; beads of condensation underneath signal moisture coming through
- A look at the exterior grade. The soil around the foundation should drop at least 6 inches across the first 10 feet away from the house
- An inspection of gutters and downspouts. They should be clear, working, and dumping water 4 to 6 feet out from the foundation
- A check of the sump pump (if you have one) to confirm it runs properly and has a battery backup
Any moisture problems you turn up have to be fixed before finishing starts. Remedies run from cheap grading fixes and downspout extensions ($200-$500) up to an interior drain-tile system with a sump pump ($3,000-$8,000) or an exterior waterproofing membrane ($8,000-$15,000). Cutting this corner is the priciest blunder around, since repairing water damage in a finished basement usually runs $10,000 to $30,000.
Egress Rules
Codes require an emergency egress window or door in any basement bedroom so that occupants can get out and firefighters can get in during an emergency. Even with no bedroom in your plans, adding an egress window is well worth it for the daylight, fresh air, and flexibility it brings down the road. Typical code requirements call for:
- An opening of at least 5.7 square feet
- An opening no less than 24 inches tall and 20 inches wide
- A sill no higher than 44 inches off the floor
- For below-grade installs, a window well of at least 9 square feet, with a fixed ladder if it's deeper than 44 inches
Adding an egress window to an existing basement generally costs $2,500 to $5,000 per opening, which covers cutting the foundation wall, setting the window and well, and waterproofing the assembly.
Thinking Through Ceiling Height
Most codes set a 7-foot minimum finished ceiling for habitable rooms, though some areas permit 6 feet 8 inches beneath beams and ducts. Before you commit, measure carefully from the concrete slab to the underside of the joists above, then deduct for your flooring buildup (usually 1 to 2 inches) and whatever ceiling you choose. If headroom is tight, your options include:
- Drywall fastened straight to the joists (gives up only half an inch but leaves ducts and plumbing in the way)
- A drop ceiling (costs 3 to 6 inches but keeps the mechanicals above easy to reach)
- An exposed, painted ceiling (coat the joists, ducts, and pipes one dark color for an industrial vibe that keeps every inch of height)
- Lowering the floor (digging out and repouring the slab, which works but is steep at $10,000 to $30,000)
What Finishing a Basement Costs
- Economy finish ($20-$30/sq ft): Simple framing, insulation, drywall, carpet, a drop ceiling, and bare-bones wiring. For a 1,000 sq ft basement: $20,000-$30,000.
- Mid-range finish ($30-$40/sq ft): Solid framing and insulation, painted drywall, engineered hardwood or LVP, recessed lighting, and an egress window. For a 1,000 sq ft basement: $30,000-$40,000.
- Premium finish ($40-$50+/sq ft): A full bath, wet bar or kitchenette, custom built-ins, upscale flooring, a dedicated HVAC zone, and a theater or gym. For a 1,000 sq ft basement: $40,000-$50,000+.
These figures cover labor and materials but assume the basement is already dry and tall enough. Waterproofing, egress windows, and structural changes pile on top of these numbers.
Framing and Insulation
Framing a basement isn't quite like framing above grade, because the new walls go up against a concrete or block foundation. There are two main ways to handle it:
- Conventional stud wall: 2x4 walls set 1 to 2 inches in front of the foundation, with fiberglass batts or rigid foam packed between the studs. It's the classic approach and leaves a chase for wiring and plumbing.
- Rigid foam with furring: Boards of rigid foam (XPS or polyiso) glued straight onto the foundation, then 1x3 or 2x2 furring strips fastened through the foam to carry the drywall. It handles moisture better and eats up less floor area.
The cardinal rule of basement insulation is to keep a vapor barrier (kraft-faced batts or poly sheeting) off the interior face of the wall. Doing so traps moisture between the foundation and the barrier, the perfect recipe for mold. Stick with unfaced insulation or rigid foam that acts as its own vapor retarder right against the foundation.
Flooring That Works Below Grade
Basement flooring has to cope with conditions you don't find upstairs, including possible moisture wicking up through the slab and cooler temperatures. The strongest performers are:
- Luxury vinyl plank (LVP): The go-to basement floor, and deservedly so. It's fully waterproof, easy on the feet, comes in convincing wood and stone looks, and floats over a thin underlayment. Cost: $3-$7 per sq ft installed.
- Engineered hardwood: A genuine wood veneer over a plywood core that holds its shape better than solid wood when humidity shifts. A good fit for basements with moisture under control. Cost: $6-$12 per sq ft installed.
- Tile (porcelain or ceramic): Waterproof and tough. Ideal for bathrooms, laundry areas, and busy zones, though it feels cold without radiant heat below. Cost: $5-$15 per sq ft installed.
- Carpet over a moisture-resistant pad: Cozy and warm, but the riskiest pick where moisture lurks. Only use it atop a waterproof barrier with a synthetic, moisture-resistant pad. Cost: $3-$8 per sq ft installed.
Planning the Lighting
Basements usually get little or no daylight, so the artificial lighting plan does most of the heavy lifting in making the room feel welcoming instead of cavern-like. A layered scheme works best:
- Ambient layer: Recessed cans on an even grid (roughly every 6 to 8 feet) light the whole room. Choose 4- or 6-inch LED fixtures rated for insulation contact (IC rated).
- Task layer: Under-cabinet strips at a kitchenette or bar, desk lamps in an office nook, and aimed spots over a workbench or craft table.
- Accent layer: Wall sconces, LED tape in cove ceilings or along shelves, and pendants above a bar or game table to add warmth and interest.
- Dimmers: Put dimmers on every ambient circuit. Being able to dial the brightness up or down is what shifts a basement from purely functional to genuinely comfortable.
Permits and Payback
Finishing a basement nearly always calls for a building permit, which usually means a plan review plus inspections for structure, electrical and plumbing rough-in, insulation, and a final sign-off. Permit fees run from $200 to $2,000 depending on the scope and where you live. Going without a permit is genuinely risky: nobody verifies the work for safety, and unpermitted upgrades can spawn legal and financial headaches when you sell.
Finished basements generally return 70 to 75 percent of their cost at resale, and that climbs when the space includes a bathroom and a legal bedroom with egress. The dollar return aside, a finished lower level widens your pool of buyers, since plenty of families specifically hunt for homes that already have it.
Mistakes Worth Avoiding
- Skipping waterproofing: The costliest slip of all. Always settle moisture problems before any finishing.
- Overlooking egress rules: A bedroom without an egress window breaks code and endangers anyone using it.
- Using ordinary drywall where moisture lingers: Hang mold-resistant board (green or purple) throughout the basement.
- Sealing off the mechanicals: Keep the furnace, water heater, panel, sump pump, and shutoff valves reachable through access panels or an unfinished utility room.
- Shortchanging the HVAC: Basements frequently need extra supply and return runs to stay comfortable, so budget for the ductwork.
Finishing a basement is the most economical way to add real living space to a house. The trick is getting it right on the first pass: tackle moisture first, satisfy the code, and put your money into materials built for life below grade.